




Your existing TV cabinet may work with an Epson LS800 and a 120-inch 16:9 SCREEN PRO AD floor-rising UST ALR screen, provided the projector, deployed image and lifting mechanism have the space they need. Check the cabinet, projector placement and exact AD installation drawing together before ordering.
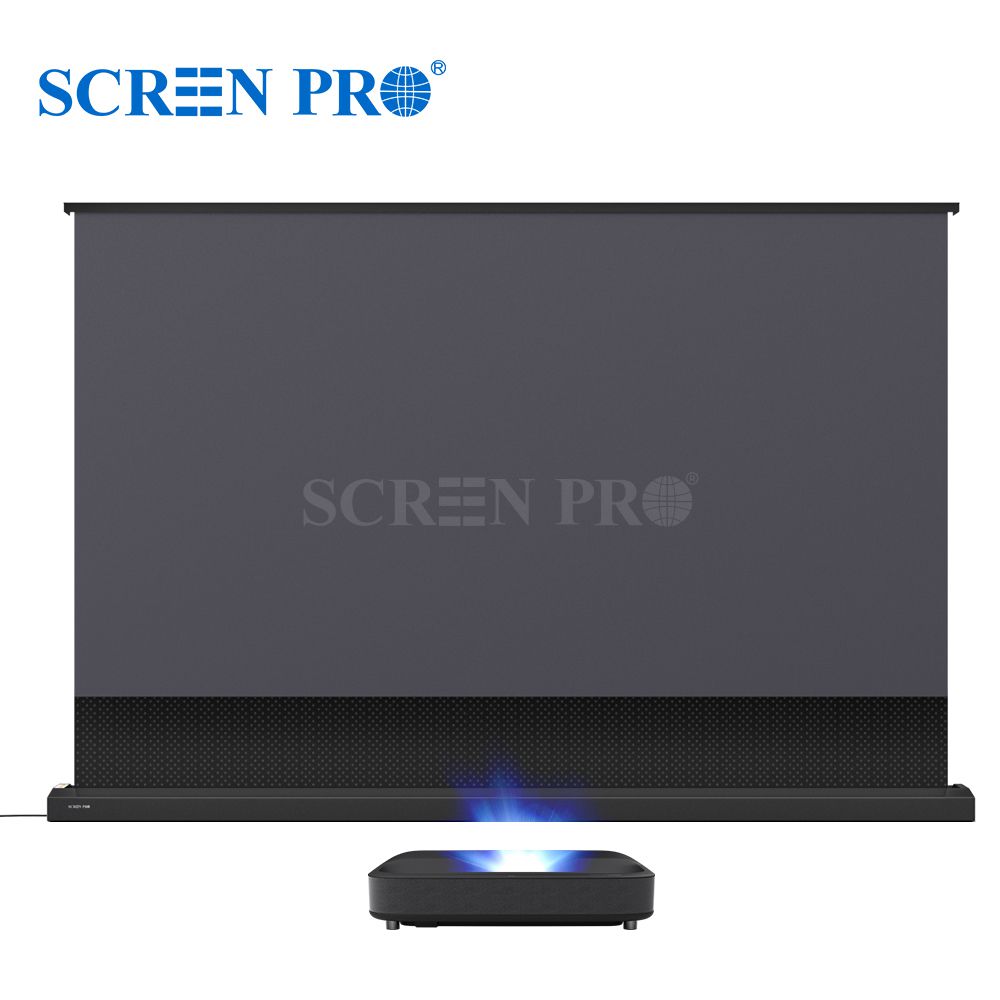
SCREEN PRO AD floor-rising UST ALR screen. Product image, not an Epson LS800 installation or a dimension drawing.
1. Measure to the deployed screen surface
Start with the position of the screen surface when fully raised. A screen installed in front of a wall changes the projection plane, so measuring only to the wall can put the projector in the wrong position.
For a 120-inch 16:9 image, Epson’s LS800 setup guide gives these approximate references:
-
6.8 inches / 17.3 cm: from the image plane to the rear of the projector.
-
7.5 inches / 19 cm: from the top of the projector to the bottom of the image.
Use the reference points in Epson’s diagram. These figures describe the projector’s placement; they are not lens-to-wall distances, minimum cabinet depths or clearances for the AD housing.
2. Check the cabinet’s usable support surface
Measure the usable top width and depth, its height above the floor, and any overhangs or obstructions. Allow for the projector’s complete body, supported feet, cable connections and ventilation requirements.
Also establish where the screen housing will sit: behind the cabinet, on a support surface or within a planned opening. Each arrangement changes the relationship between the projector and the deployed screen. A housing fitting inside a cabinet does not establish that the screen can operate there.
3. Separate image height from total raised height
A nominal 120-inch 16:9 image is approximately 1.49 metres high. The complete raised screen also includes its housing, borders and top bar.
Match the bottom of the active image to the LS800’s vertical placement reference, then check the top of the complete assembly against the ceiling and nearby objects. Use the drawing for the selected AD size and configuration to confirm the full raised height and available positioning adjustment.
4. Leave room for deployment and service
Check the complete housing outline, feet or protruding parts, moving cover, support arms and top bar throughout deployment. Keep the projector’s light path clear and provide access for power, cables and future service.
Request the matching drawing before cutting furniture or committing to an opening. Do not transfer dimensions from another screen size, colour or mechanism.
Confirm the complete setup before buying
The AD Series is a motorized floor-rising UST ALR option. Directional UST ALR can help with room light, but the LS800 model alone does not establish that every installation needs ALR. Surface orientation, light direction and seating position still matter.
To check whether you can keep your cabinet, ask SCREEN PRO to review your LS800 and 120-inch AD setup. Send cabinet width, usable depth and height, room photos, and the proposed screen-housing position. Match Epson’s placement references with the exact AD drawing before finalizing the order.
https://screenproscreens.com/
screenpro

+ There are no comments
Add yours