Mechanical joint fittings are essential components in various industries, providing a reliable and efficient means of connecting pipes and tubes. Proper installation of these fittings is crucial to ensure leak-free connections and optimal system performance. In this comprehensive guide, we will explore the step-by-step process of installing mechanical joint fittings, covering key considerations, techniques, and best practices.
- Understanding Mechanical Joint Fittings:
1.1 Overview:
Mechanical joint fittings are designed to connect pipes or tubes using a combination of mechanical force and sealing elements. These fittings typically consist of two main components: a grooved-end fitting and a gasket. The grooved-end fitting features grooves that match with corresponding grooves on the pipe, while the gasket provides a tight seal.
1.2 Types of Mechanical Joint Fittings:
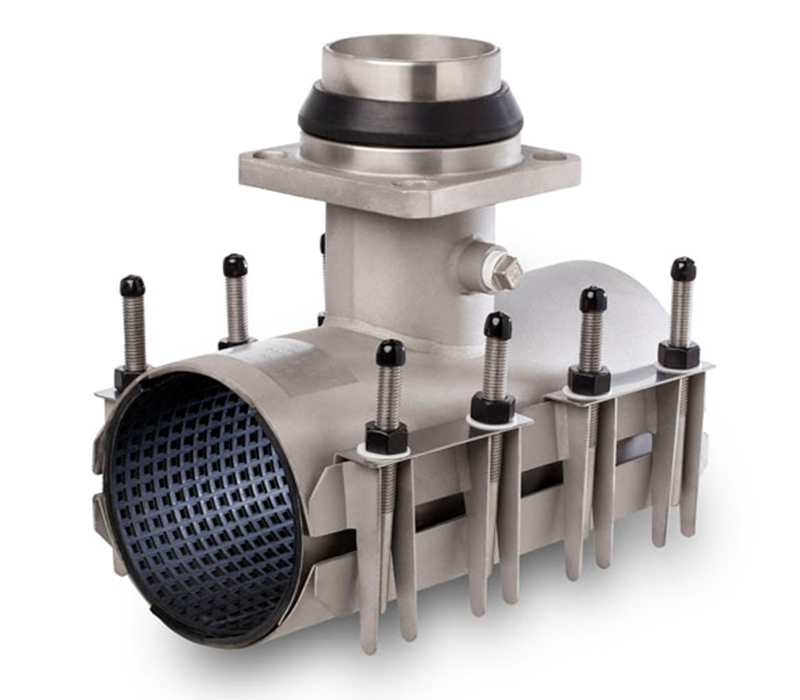
There are various types of mechanical joint fittings available, including couplings, elbows, tees, and reducers. Each type serves a specific purpose in pipeline systems, allowing for flexibility, directional changes, and size transitions. Understanding the different types of fittings and their applications is essential for successful installation.
- Pre-Installation Preparation:
2.1 Inspection and Measurement:
Before installation, carefully inspect the mechanical joint fittings for any damage or defects. Ensure that the fittings are compatible with the pipe material and size. Accurate measurements of the pipe length and diameter are crucial for selecting the appropriate fittings.
2.2 Surface Preparation:
Thoroughly clean the pipe ends and the grooved-end fittings to remove dirt, debris, and any existing coatings. The surfaces should be smooth and free from contaminants to ensure proper sealing and optimal joint performance.
- Installation Process:
3.1 Assembly:
Start by placing the gasket onto the grooved-end fitting, ensuring it is properly aligned. Slide the fitting onto the pipe end, making sure the grooves on the fitting match with those on the pipe. Apply even pressure to ensure a secure fit.
3.2 Bolting:
If required, secure the mechanical joint fitting using bolts and nuts. Follow the manufacturer's specifications for torque values and tightening sequence. Proper bolting ensures the joint's stability and prevents any potential leaks.
3.3 Inspection:
After installation, visually inspect the joint to ensure proper alignment and engagement. Check for any signs of misalignment, gaps, or damage. Additionally, perform a pressure test to verify the integrity of the joint and detect any leaks.
- Maintenance and Troubleshooting:
4.1 Regular Inspections:
Periodically inspect the mechanical joint fittings for signs of wear, corrosion, or damage. Replace any worn-out gaskets or fittings promptly to maintain the system's reliability.
4.2 Troubleshooting Leaks:
In the event of a leak, identify the source and assess the possible causes. Common causes include improper installation, damaged gaskets, or pipe misalignment. Address the issue by reassembling the joint, replacing the gasket, or realigning the pipes as necessary.
Conclusion:
Mastering the art of installing mechanical joint fittings is essential for ensuring leak-free and efficient pipeline systems. By understanding the types of fittings, following proper installation procedures, and conducting regular maintenance, engineers and technicians can achieve reliable and long-lasting connections. Whether it's in plumbing, HVAC, or industrial applications, the knowledge and skills in installing mechanical joint fittings are invaluable for professionals in the field.


+ There are no comments
Add yours