




Insights & Updates
Preparing the Subfloor Before Click-Flooring Installation
The finished floor begins with a surface that has been inspected, documented and prepared for the confirmed flooring system.
A click-flooring installation can look simple once the first row is underway, but the quality of the result depends heavily on work completed before any plank is placed. The subfloor affects how joints engage, how the floor feels underfoot and how the finished surface responds to normal use. Furniture, lighting and décor cannot compensate for a base that was not ready.
Subfloor preparation is not one universal procedure. The correct checks depend on the flooring construction, substrate type, installation method, project environment and applicable local requirements. The product supplier, installer and project team should therefore agree on the final installation instructions and responsibilities before work begins.
1. Identify the Subfloor and the Flooring System
Begin by confirming what is actually below the planned floor. Concrete, screed, plywood, existing resilient flooring and raised access systems can require different inspection methods. The project team should also confirm whether the click flooring will be installed as a floating system, what underlayment or moisture-control layer is specified, and whether transitions or fixed furniture affect the layout.
The product model and thickness must match the approved sample and specification. Installation guidance from a different product, thickness or locking profile should not be assumed to apply. If conditions on site differ from the original project information, the difference should be reviewed before material is released for installation.
2. Check Flatness Across the Whole Area
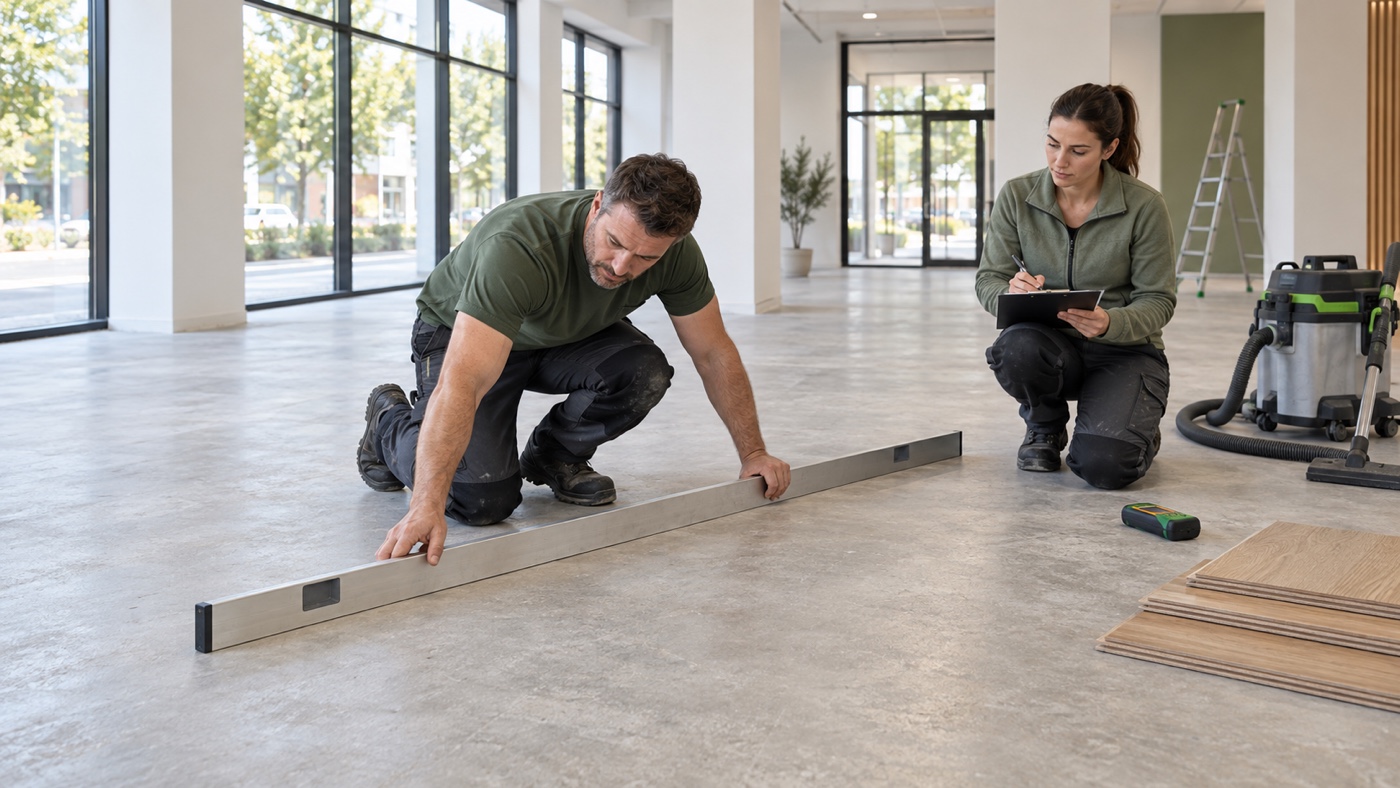
Flatness is not the same as level. A room may slope and still be locally flat, while a nominally level surface may contain ridges, low spots or abrupt changes. A suitable straightedge or other approved method can be used to inspect multiple directions and locations, including doorways, perimeter zones and repaired areas.
Local high and low points can allow a floating floor to flex under traffic and place unwanted stress on the locking joints. Any necessary grinding, filling or leveling should use materials compatible with the substrate and flooring system. The permitted variation, measurement length and repair method must come from the confirmed installation instructions and project standard rather than a generic number copied from another product.
3. Verify Dryness with the Correct Method
A surface that looks dry is not necessarily ready. New mineral substrates can retain moisture, and existing spaces may be affected by leaks, ground moisture or changing site conditions. Testing should use a method appropriate to the substrate and should be carried out by qualified personnel where the project requires it.
Results should be recorded by location and date, together with the instrument or test method. The acceptable limit must follow the flooring installation requirements, underlayment or adhesive system where applicable, substrate guidance and local standards. If moisture readings or visible conditions are outside the accepted range, the cause and corrective plan should be addressed before the floor is covered.
4. Confirm the Surface Is Sound and Clean
The base should be stable enough for the planned system. Loose material, weak patches, cracks, soft areas or movement at sheet joints require assessment. Repairs should be complete and cured before installation continues. Existing coatings or residues should be evaluated for compatibility rather than automatically covered.
Dust, grit, fasteners and small construction debris can create isolated pressure points or noise beneath a floating floor. Vacuuming is generally more controlled than simply sweeping fine dust from one area to another. The perimeter, corners, service penetrations and transition points deserve the same attention as the open center of the room.
Pre-Installation Review
-
Confirm the exact flooring model, thickness and approved installation instructions.
-
Identify the substrate and any existing surface materials.
-
Inspect and record flatness throughout the installation area.
-
Test dryness with a method appropriate to the substrate and project.
-
Check that repairs are complete, sound and sufficiently cured.
-
Remove dust, grit, debris and protrusions.
-
Confirm room conditions, storage, layout, transitions and perimeter details.
-
Record unresolved issues before installation begins.
5. Stabilize the Site Environment
Flooring should not be installed while the building is still exposed to uncontrolled weather or major wet trades. Doors and windows should be operational, and the space should be close to its intended service conditions as required by the product instructions. Sudden changes after installation can affect both the flooring and the surrounding building materials.
Material storage and conditioning should follow the confirmed product guidance. Cartons should be protected from water, excessive heat, direct sun and unsuitable stacking. If the cartons have arrived from a very different environment, the project team should follow the specified conditioning process rather than opening or installing them immediately by habit.
6. Plan the Layout Before Opening the First Row
A dry layout review helps identify narrow perimeter pieces, difficult doorways, transitions and the most suitable visual direction. The installer can check wall straightness, room geometry and the relationship between plank direction and natural light. Expansion space and movement details should follow the approved installation instructions and should not be blocked by fixed elements.
Color and grain should also be reviewed before and during installation. Planks can be drawn from several cartons as permitted by the product guidance to distribute natural décor variation. Any visibly damaged or questionable plank should be set aside for assessment rather than installed into the main field.
7. Document Readiness and Exceptions
A short pre-installation record can prevent uncertainty later. Useful items may include the room or zone, substrate type, flatness observations, dryness test results, environmental conditions, repair status, photographs and names of the responsible parties. The purpose is not paperwork for its own sake; it is to make the installation decision traceable.
If the installer finds a condition outside the agreed requirements, it should be reported before the affected area is covered. Proceeding without review can make the original problem harder to identify and correct. Clear communication at this stage protects the installer, supplier, contractor and project owner.
A Better Floor Starts Before Installation
Subfloor preparation connects product specifications with real site conditions. When the base is appropriately flat, dry, sound and clean—and when the room, layout and records are ready—the installation team can focus on accurate assembly rather than correcting preventable problems during the work.
For Xinjue click-flooring projects, the final product model and installation documentation should be confirmed before site preparation is signed off. Project-specific requirements always take priority over general guidance.
Coordinating a Click-Flooring Project?
Share the product model, substrate type, installation method, project environment and applicable technical requirements so the product and site-preparation documents can be reviewed together.
This article provides general coordination information only. Final tolerances, testing methods, preparation products, environmental conditions and installation procedures must follow the confirmed flooring instructions, substrate requirements and applicable project standards. Images are AI-generated concepts, not construction records.
www.qinsiflooring.com
Wenzhou Qinsi New Materials Co., Ltd.

+ There are no comments
Add yours