Electric circuits are the backbone of modern technology, powering everything from household appliances to complex industrial machinery. However, when an electric circuit fails, it can lead to significant disruptions and safety hazards. Understanding how to diagnose and fix an electric circuit is essential for both professionals and DIY enthusiasts. This article will delve into the systematic approach to troubleshooting electric circuits, providing practical insights and expert tips to ensure effective repairs.
Understanding the Basics of Electric Circuits
Before diving into the repair process, it's crucial to grasp the fundamental components of an electric circuit. An electric circuit typically consists of:
- Power Source: This could be a battery or an electrical outlet that provides the necessary voltage.
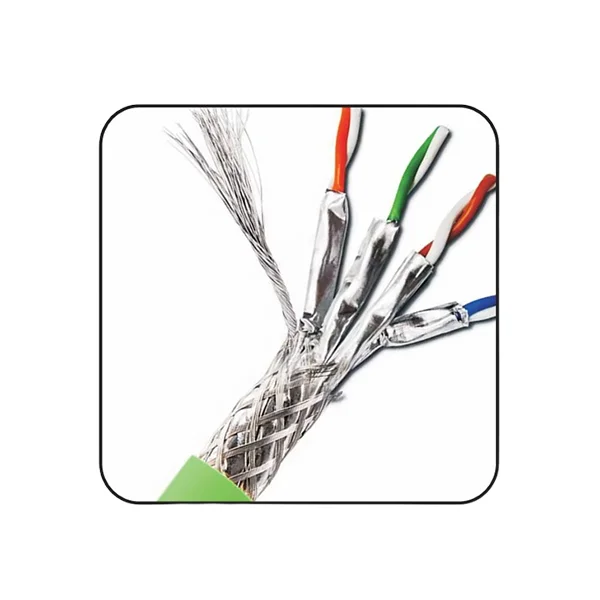
- Conductors: Wires that allow the flow of electric current.
- Load: The device or component that consumes electricity, such as a light bulb or motor.
- Control Devices: Switches, relays, and circuit breakers that manage the flow of electricity.
Step 1: Safety First
Before attempting any repairs, prioritize safety. Always disconnect the power supply before working on an electric circuit. Use insulated tools and wear rubber-soled shoes to minimize the risk of electric shock. Additionally, ensure that you are working in a dry environment to prevent accidental short circuits.
Step 2: Identify the Symptoms of Circuit Failure
Recognizing the symptoms of circuit failure is the first step in troubleshooting. Common indicators include:
- No Power: Devices do not turn on, indicating a possible break in the circuit.
- Intermittent Functionality: Devices that work sporadically may have loose connections or failing components.
- Overheating: Components that become excessively hot can signal overload or short circuits.
- Burning Smell or Visible Damage: This could indicate a serious fault that requires immediate attention.
Step 3: Use Diagnostic Tools
To effectively diagnose issues within an electric circuit, several tools can be invaluable:
- Multimeter: This versatile tool measures voltage, current, and resistance, allowing you to test various components of the circuit.
- Continuity Tester: This tool helps determine if there is a complete path for current flow, indicating whether wires or components are intact.
- Clamp Meter: Useful for measuring current without disconnecting the circuit, providing insight into load conditions.
Step 4: Systematic Troubleshooting Process
- Visual Inspection: Begin with a thorough visual inspection of the circuit. Look for burnt components, loose connections, or damaged insulation. Pay special attention to solder joints and connectors.
- Check the Power Source: Ensure that the power source is functioning correctly. Use a multimeter to measure the voltage at the source and confirm it matches the required specifications.
- Test Components Individually: Isolate and test each component in the circuit. For example, check resistors for proper resistance values, capacitors for capacitance, and diodes for directional current flow.
- Inspect Connections: Loose or corroded connections can disrupt the flow of electricity. Tighten any loose connections and clean corroded terminals with a suitable contact cleaner.
- Replace Faulty Components: If any components are found to be defective, replace them with new ones that meet the original specifications. Ensure that you are using components rated for the same voltage and current to maintain circuit integrity.
Step 5: Reassemble and Test
Once repairs are made, carefully reassemble the circuit. Before reconnecting the power, double-check all connections and components to ensure everything is in place. Once satisfied, restore power and test the circuit to confirm that the issue has been resolved.
Step 6: Preventive Measures
To avoid future circuit failures, consider implementing preventive measures:
- Regular Maintenance: Periodically inspect circuits for wear and tear, especially in high-use areas.
- Surge Protection: Use surge protectors to safeguard against voltage spikes that can damage components.
- Proper Load Management: Ensure that circuits are not overloaded by distributing electrical loads evenly across multiple circuits.
Conclusion
Fixing an electric circuit requires a methodical approach, a keen eye for detail, and a solid understanding of electrical principles. By following the steps outlined in this guide, you can effectively diagnose and repair common circuit issues, ensuring the safe and efficient operation of your electrical systems. Remember, when in doubt, consult a professional electrician to avoid potential hazards. With the right knowledge and tools, you can tackle electric circuit repairs with confidence.


+ There are no comments
Add yours